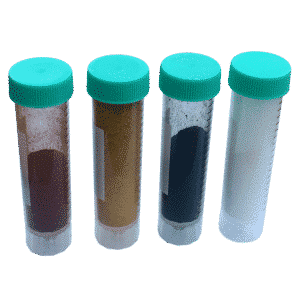
.Colouring epoxy resin is a technique that can be used to create dramatic lettering or symbols on signs. Alternatively you can just personalise a breadboard or other wooden object as a beautiful handmade present. The techniques for colouring all epoxy resins are much the same, and a variety of pigments can be used. We sell paint grade metal oxide pigments, titanium dioxide and iron oxide pigments as a colouring kit. You can use these to colour everything from resins to concrete. Buy our colouring kit with a single colour for lettering. Alternatively buy the full four colour kit to match any wood colour. Other pigments are available including liquid pigments. We illustrate this article with the house sign that we restored in 2019. Click on an image to enlarge, browser back button to go back to the article.
Colouring Epoxy Resin to make a dramatic sign
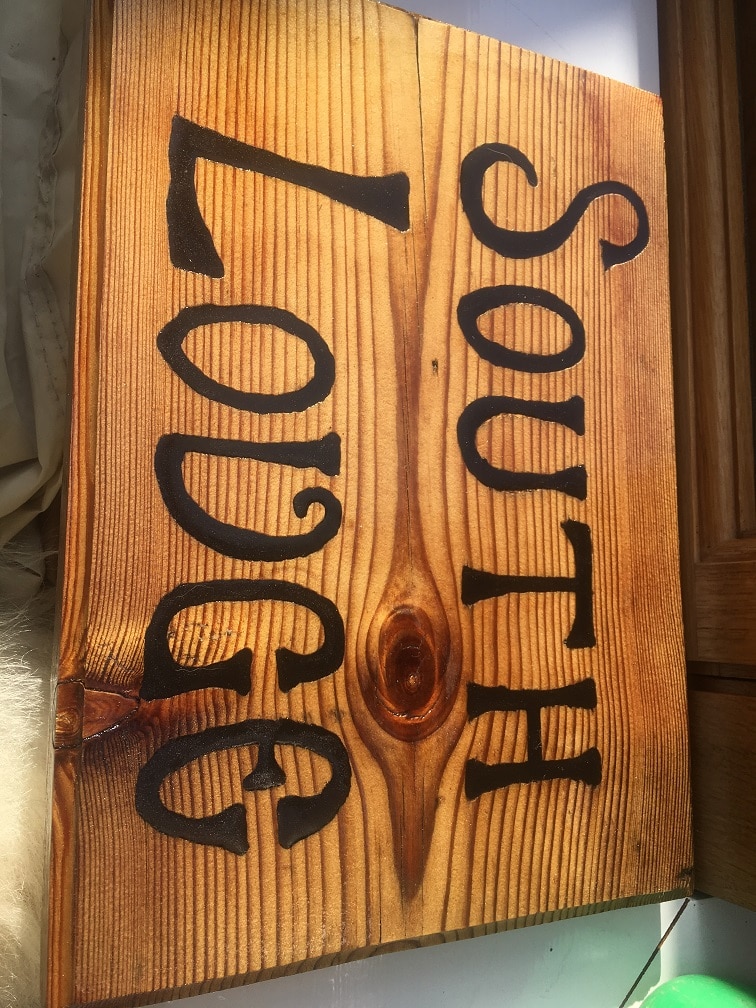
Shown below is our house sign which has been restored. Before we varnish it, we have primed with smiths CPES in our how to varnish properly article. After priming all surfaces with Clear Penetrating Epoxy Sealer, we can see that it has enhanced the grain. Furthermore it leaves no blush and is a powerful primer to which all epoxies will adhere tenaciously. This is our varnish primer of course. We applied two coats and waited overnight until they were touch dry. The sign is starting to look nice now.
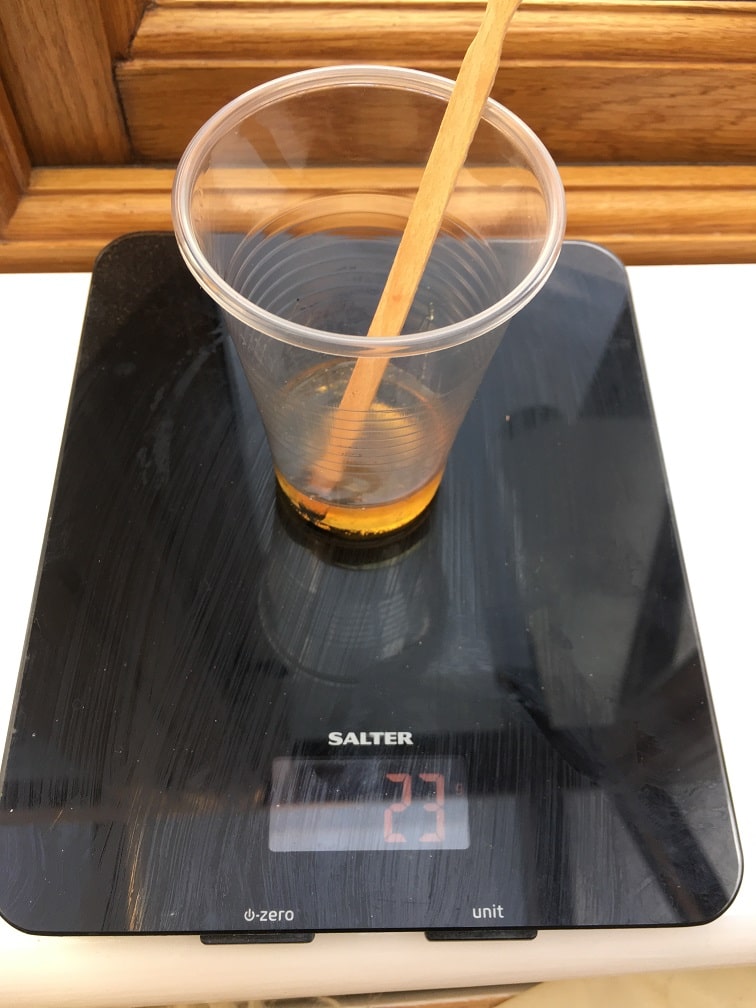
Levelling the workpiece

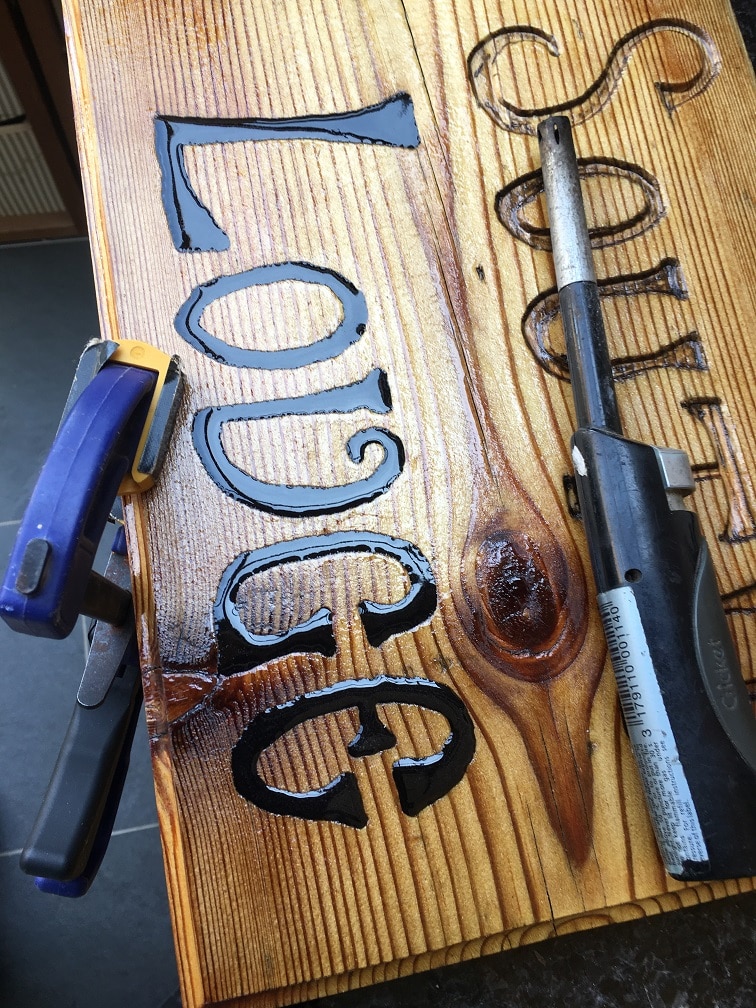
Filling the Lettering
I used a disposable pipette to carefully fill the letters to level. The resin is liquid so it will flow and settle.Let the coloured epoxy resin settle then adjust the level by adding or removing with the pipette. If you don’t have a steady hand then I suggest you find someone who does here. It is an awful job clearing epoxy resin off if you spill any, particularly if you don’t have clean up solvent to hand.
The finished result – Coloured epoxy resin lettering