Most people ask how to varnish properly when faced with a failed varnish finish. Dull, faded, flaking, peeling, varnish, silvered wood underneath. Sand back to bare wood and start again, and again and again. There is another way. Read this article to discover how to varnish properly and get a beautiful finish that really will last. 20 years or more should be easily achievable in England.
We illustrate this article with the handmade softwood house sign at South Lodge. We fitted it as bare timber originally, and it had to be restored before it could be varnished. You can read about the restoration of our house sign and learn some tips for cleaning dirty timber prior to refinishing.
All images can be enlarged by clicking – back button to return
Varnishing
If you varnish properly
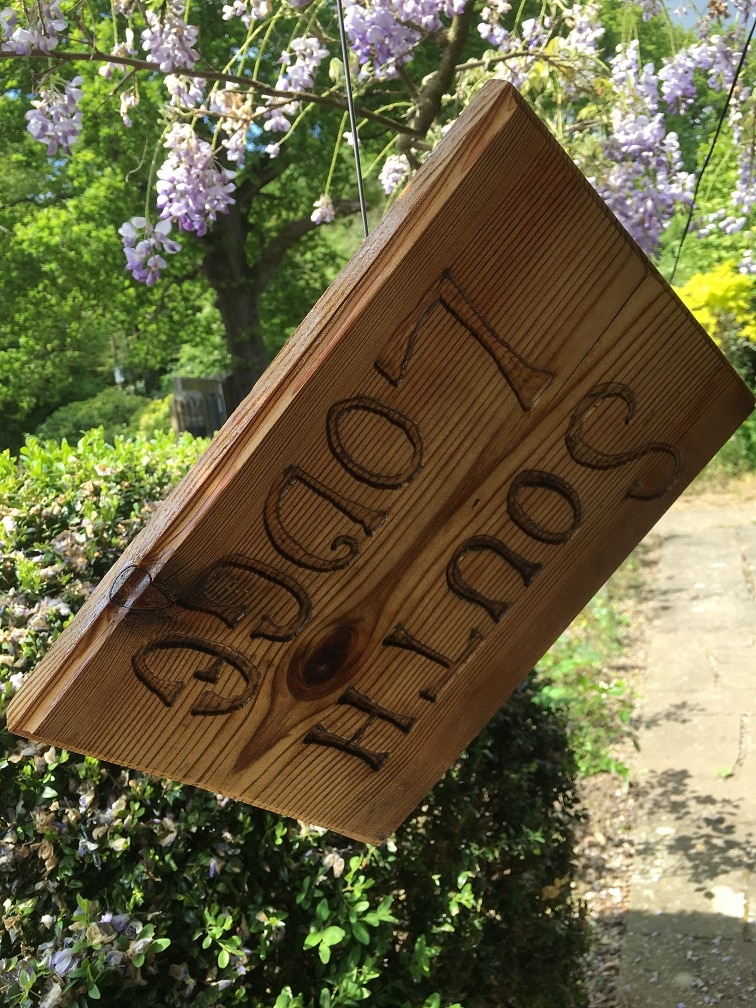
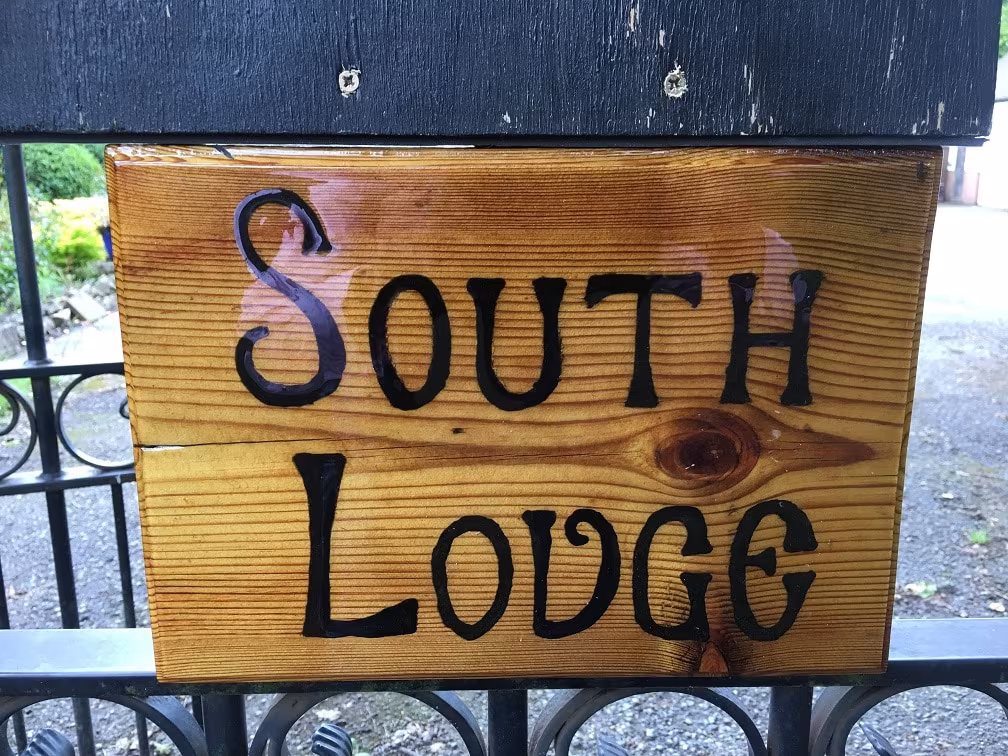
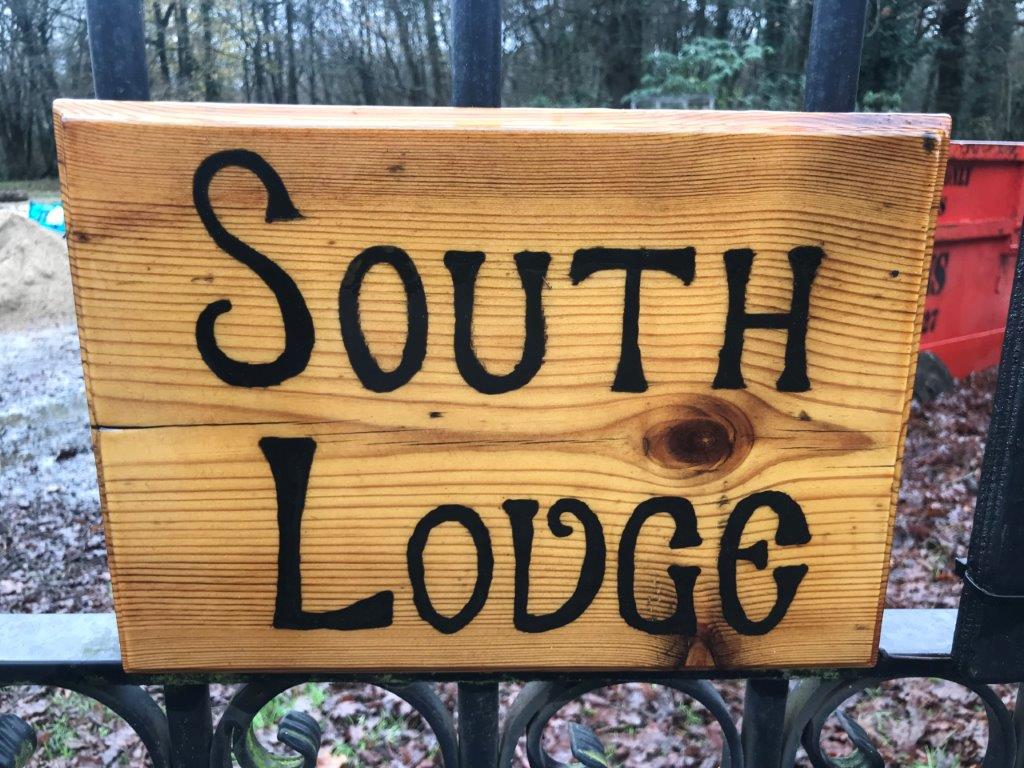
You get something like this, our house sign. Exposed all year round to the weather in Kent. The sign is 6 years old in this photograph. Read on to see how to do this, and to follow it’s maintenance record over the next decade or two.

If you do not varnish properly
What you wish to avoid is this set of spa steps (and I won’t identify the brand, but it was a big name) that were only 1 year old and had been exposed to the environment in Kent. How not to varnish properly is:
- no primer
- only 1 perhaps 2 coats of a very cheap coloured varnish (often sold as stain in the UK)
- no maintenance. This finish failed so soon that maintenance never came into it – it was destroyed within months

We all know the tell tale signs of a failing varnish finish. The appearance of little blisters, flaking varnish on corners, discolouration or even wood fibres becoming visible.
Then you get that dreadful ‘oh no – not again feeling’ and the inevitable trip to the hardware shop for more varnish and sandpaper.
S0 – enough about what goes wrong – let’s learn how to varnish properly, permanently. Do it once, do it right – Make Wood Good.
How to Varnish Properly – The 3 Steps to Long Lasting Varnish
The instructions below will give a varnished wood finish that can last 20 years or more exterior use with maintenance anywhere in the world.
1 – Prime the wood properly
Most varnish manufacturers suggest thinning the first coats of varnish to prime the timber. Thinned varnish does not penetrate the wood fibres or stick to them as well as Smiths CPES. Prime the wood with Clear Penetrating Epoxy Sealer to get a varnish finish that really stays stuck to the wood and can last up to 20 years with maintenance. In addition to priming far better than thinned varnish it is far easier to apply as it is less prone to runs. Further it is much easier to sand CPES than varnish if indeed any sanding is required which often it is not.
2 – Answer ‘How Many Coats of Varnish’ like this
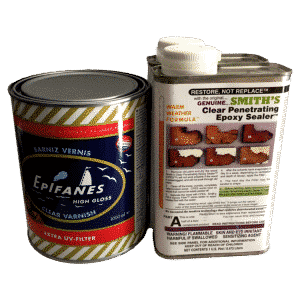
Calculate the total area of your timber. Buy a good quality varnish (we highly recommend Epifanes Wood Finish Varnish for it’s ease of application and durability), and buy 1/2 a litre per sq metre of timber. Keep adding coats until you have used all of the varnish. This will give you the correct dry film thickness of varnish to offer excellent protection against UV light. The technical description of why dry film thickness is the important measure can be read about in how many coats of varnish should I apply.
3 – Maintain your varnish finish
Exposing varnish to UV light and the elements will degrade it. Read how many coats of varnish should I apply to see why. Once the varnish loses it’s gloss finish – it’s time to recoat. Again, it’s not how many coats of varnish should I apply to maintain. Simply use half the quantity you originally used, 1/4 litre per sq metre of varnish. We cannot tell you how often this will be as it depends on many variables:
- The quality of your varnish
- Your latitude
- The amount of exposure to the sun your timber get’s (a boat or table get’s direct midday sun, a door get’s low angle sun, if situated under a porch it get’s even less exposure)
That makes sense – what now?
We sell a kit, which we call a permanent exterior varnishing kit that contains everyting you need to varnish exterior timber properly. If we have convinced you already then just go ahead and buy it and follow the instructions. If you want to know more, please read on where we will show you how to varnish properly, how to maintain that varnish finish and how long it can last. Furthermore we show you how beautiful it can look and how it won’t degrade or fail over time.
How to varnish properly – 1 – Prime your wood
Clear Penetrating Epoxy Sealer (CPES)
-
Price range: £63.75 through £353.00 Select options This product has multiple variants. The options may be chosen on the product page
-

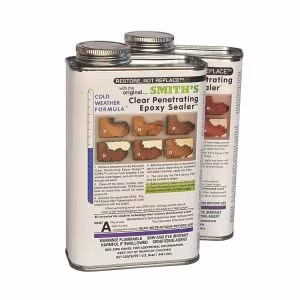
Clear Penetrating Epoxy Sealer will make the wood resistant to the moisture present in our environment. More importantly though; CPES sticks varnish down to the wood. The varnish will provide UV protection for the timber and the CPES. This is the trick to make varnish last on all exterior wood. It is much used in the wooden boat community to protect their brightworks. Personally I would not ever varnish anything without priming with CPES first. If you want to know how to varnish properly priming properly is your first step to a permanent varnish finish. Priming with CPES is far faster than priming with thinned varnish, will enhance the grain and beauty of the timber by comparison and will give a finish that will outlast any that does not use Smiths Clear penetrating epoxy sealer.
CPES = MultiWoodPrime = CPES
It’s an interesting fact that Smiths Clear Penetrating Epoxy Sealer (CPES) was invented for consolidating rotten timber (repairing rot). However when the inventor Steve Smith polled his customers a few years back he discovered this: Over half of the CPES he sold was being used as a primer. His customers had noticed that paint or varnish finishes applied to CPES treated wood far outlasted paint or varnish applied to wood without CPES. He markets CPES as both MultiWoodPrime and CPES in the USA. Here you will have to accept that this one brand does both jobs perfectly.
Preparation and Planning

How to varnish properly? Apply CPES to prime the timber instead of using thinned varnish
Colouring the Lettering on our Sign
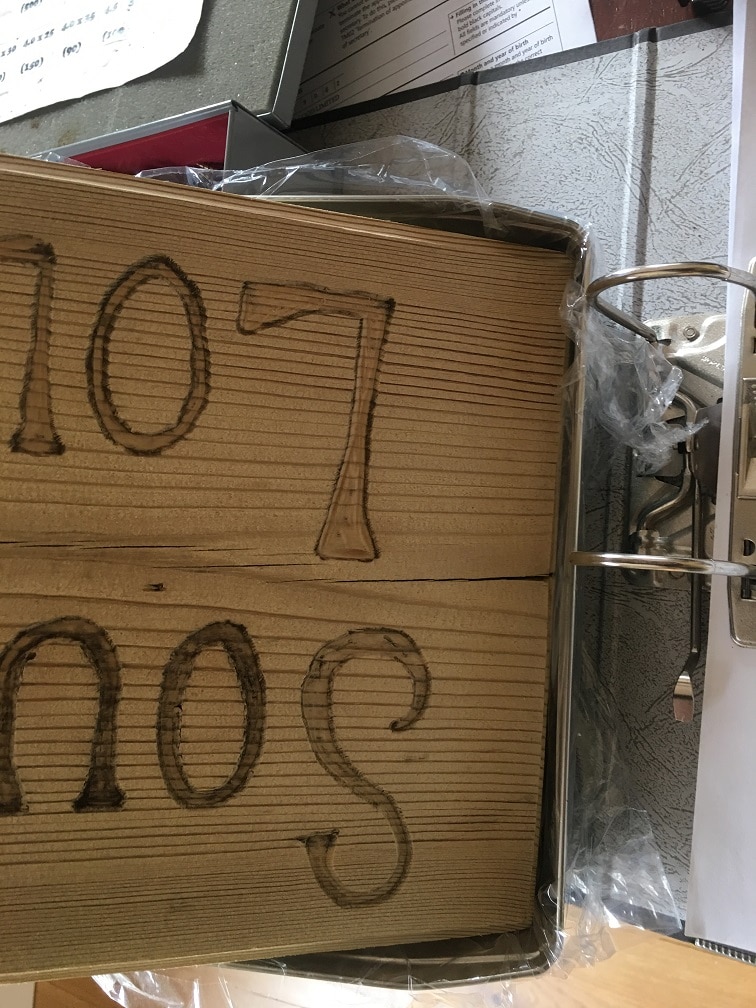
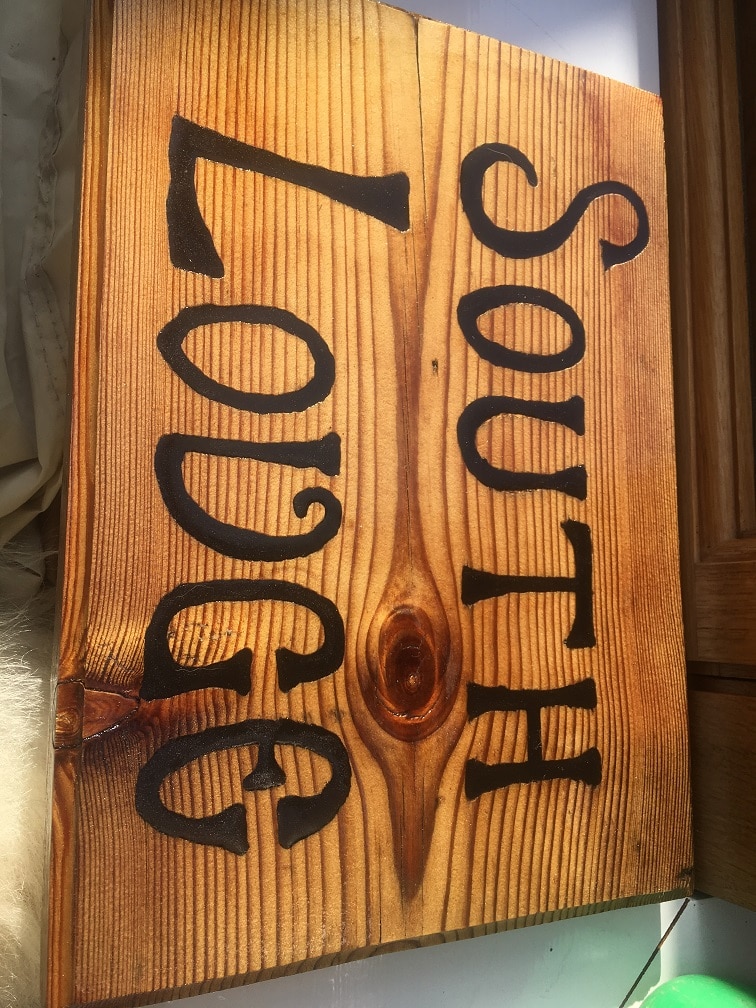
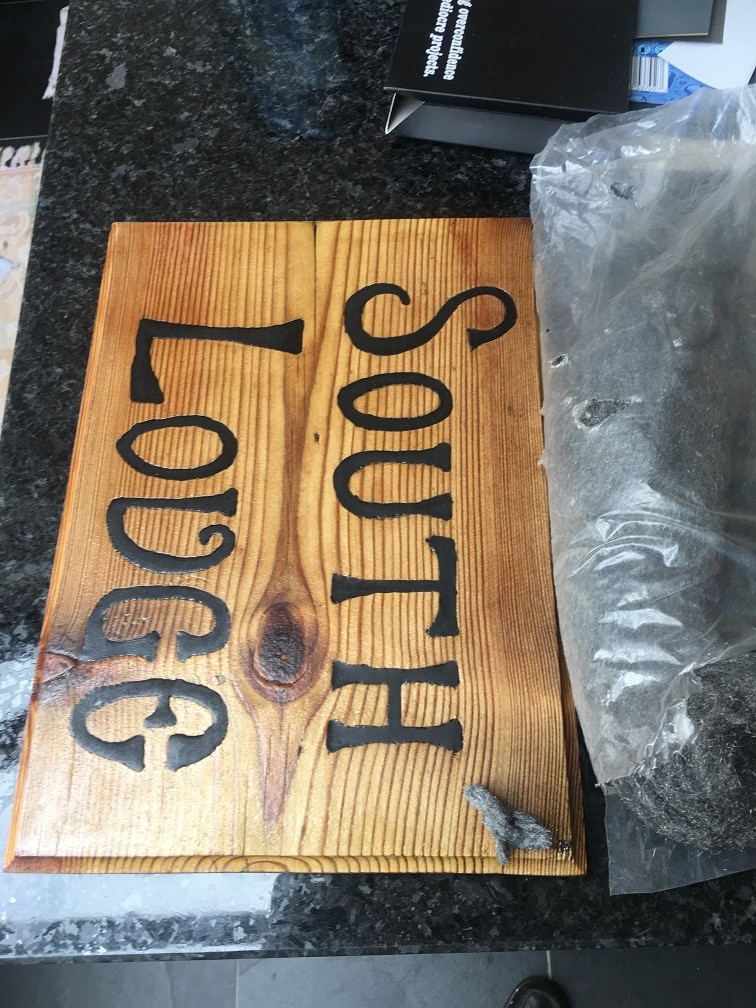
Stage 1 of our how to varnish properly is complete – we have primed our sign. We wanted to highlight the carved letters to make them stand out. As that’s not part of an article on how to varnish properly, we wrote that up in a colouring epoxy resins article.
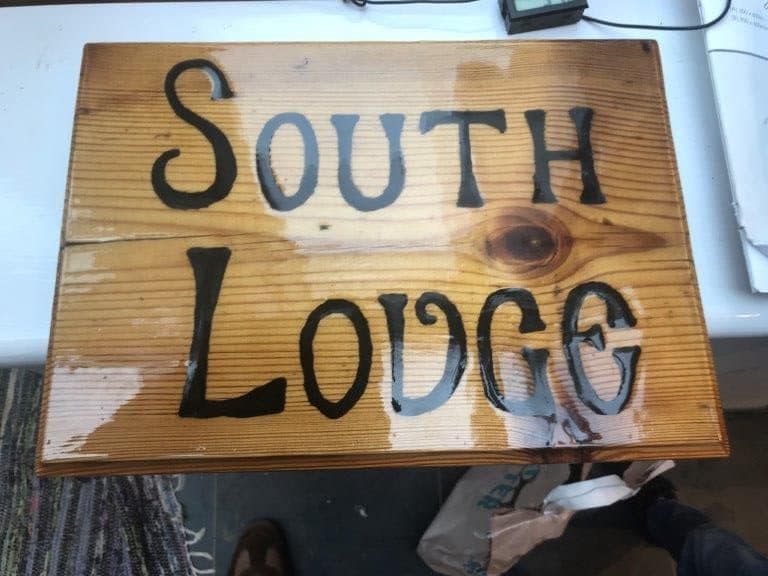
We filled the letters with coloured epoxy resin and this is what it looks like.
Step 2 – Varnishing Properly
Remember. Step 2 is answer ‘How Many Coats of Varnish’ this way: Calculate the total area of your timber. Buy a good quality varnish (we highly recommend Epifanes Wood Finish Varnish for it’s ease of application and durability), and buy 1/2 a litre per sq metre of timber. Keep adding coats until you have used all of the varnish.
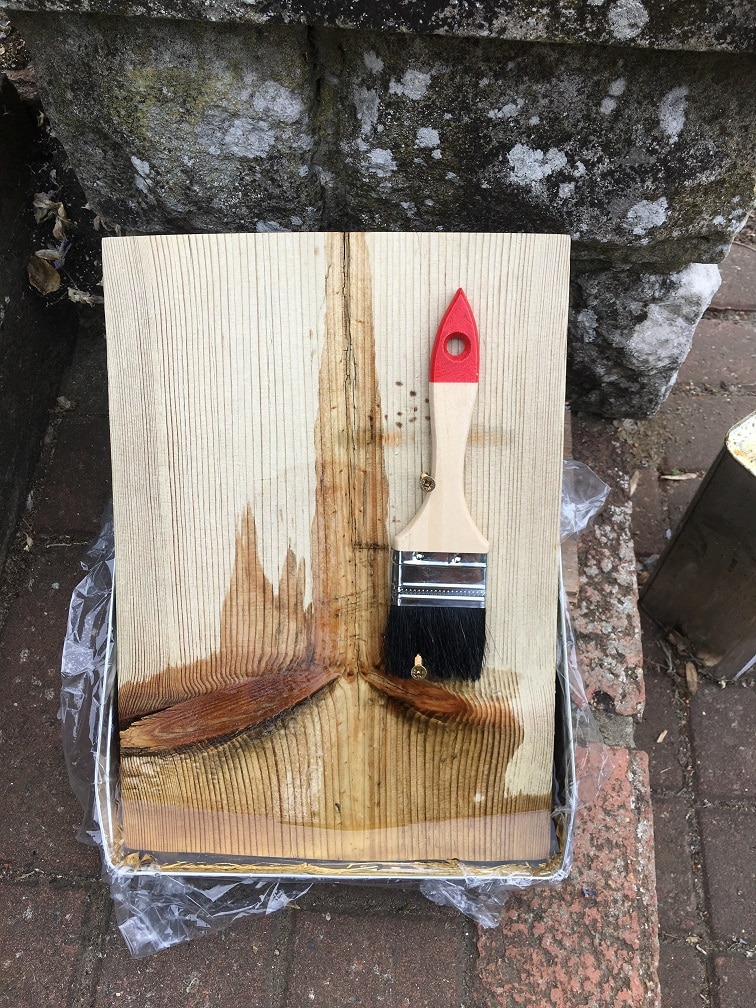
We primed the sign with CPES all over before working on the lettering.
Firstly I flattened the CPES with some fine wire wool. CPES is very much easier to use to fill grain and prime timber with than thinned varnish. Furthermore it sands far easier too. It’s deep penetration enhances the natural grain of the timber whilst priming it perfectly. That it also makes your varnish finish last many times longer is really the cherry on the top. This is a trick much used by the wooden boat fraternity.
We washed and dried the sign to remove sanding residues before we proceed any further.
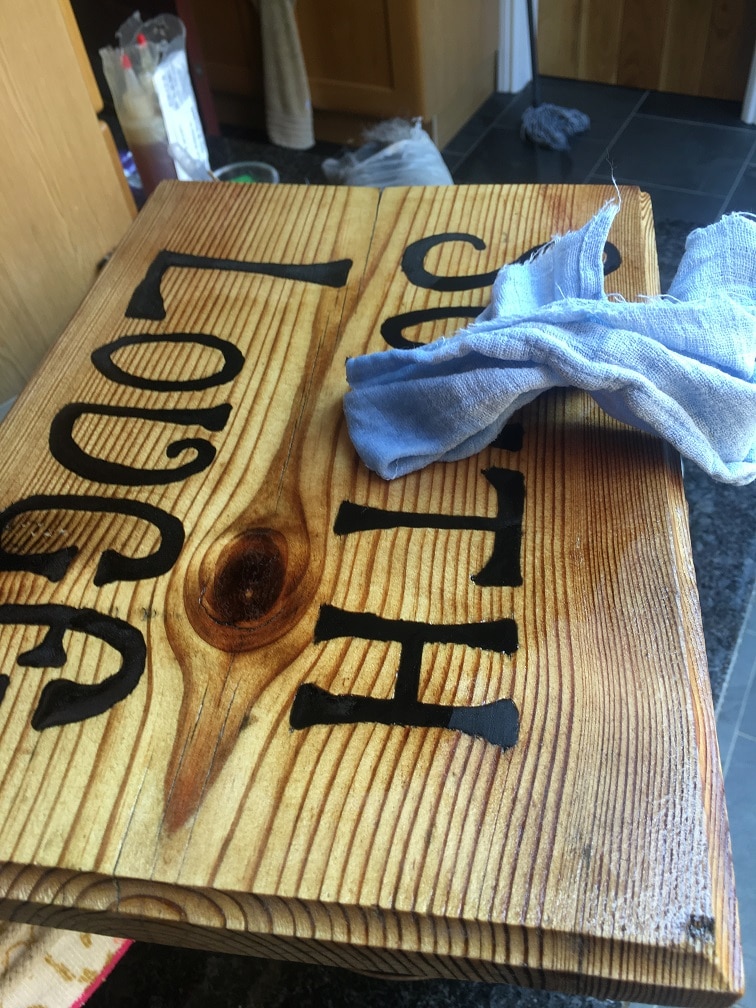
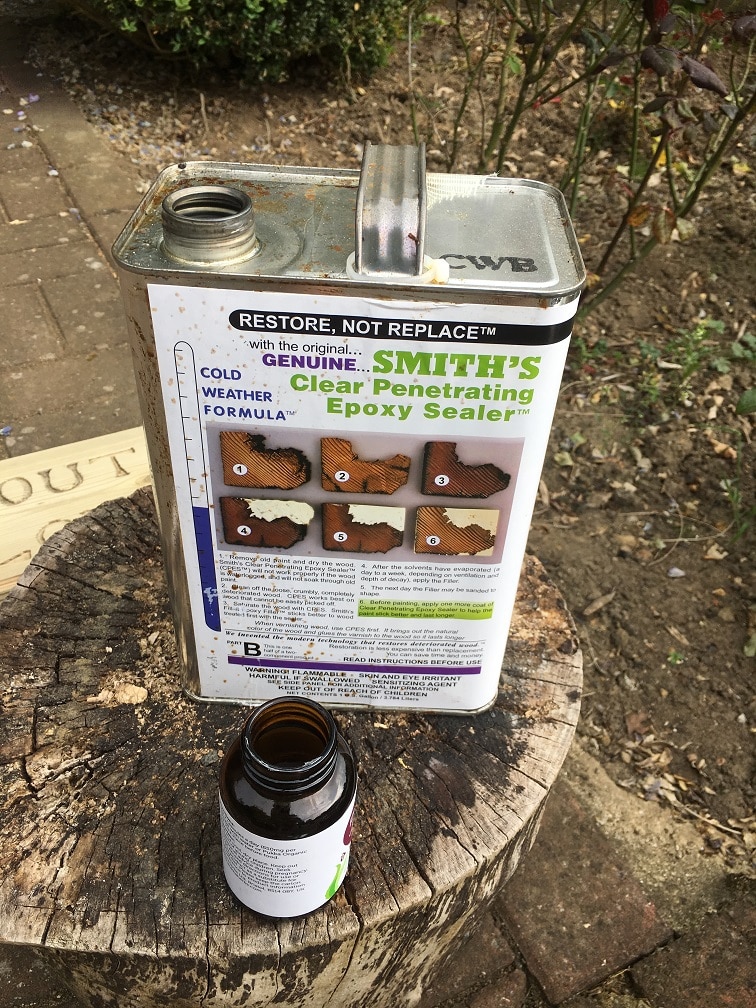
Before applying top coats we now apply a final thin coat of Smiths Clear penetrating Epoxy Sealer (CPES) to the exterior wood sign.
This will make our top coats stick as chemical bonds will form between the top coat and the still curing CPES. I will apply the top coats tomorrow.
I applied the CPES with a rag to save wasting a brush. We have already saturated the wood with CPES so we only need a very thin film of still curing CPES.
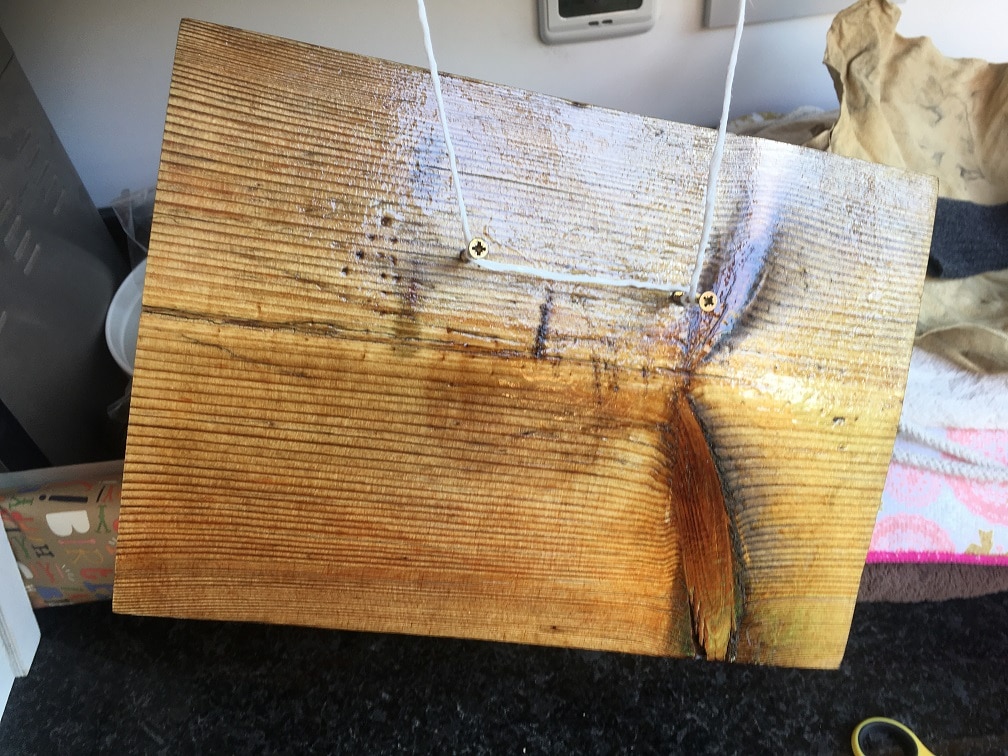
Then I hung the exterior wooden sign up to dry for a few hours. The applied film was thin enough that it was solvent smell free then.
Don’t varnish if you do not have to!
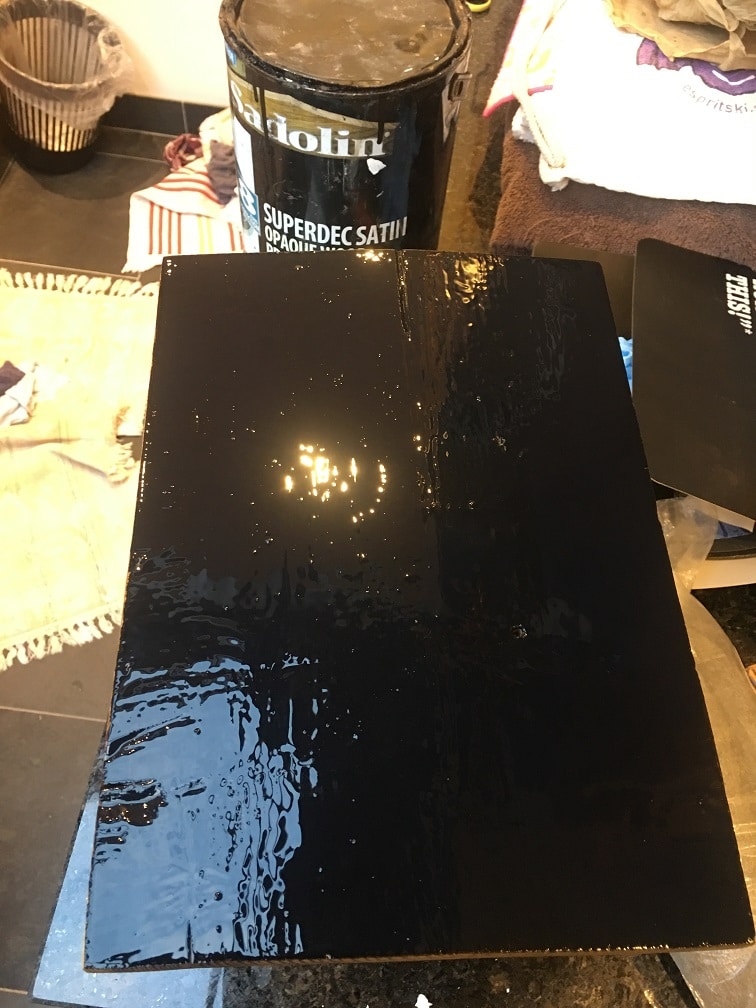
We applied a single coat of Sadolin Superdec paint which is microporous to the back of the exterior wood sign, and let it dry overnight.
Microporous paints work very well indeed over Clear Penetrating Epoxy Sealer, as it is also microporous. It’s way lower maintenance than varnish as well.
But if you have to varnish – varnish properly – 1/2 litre of Epifanes per sq metre.
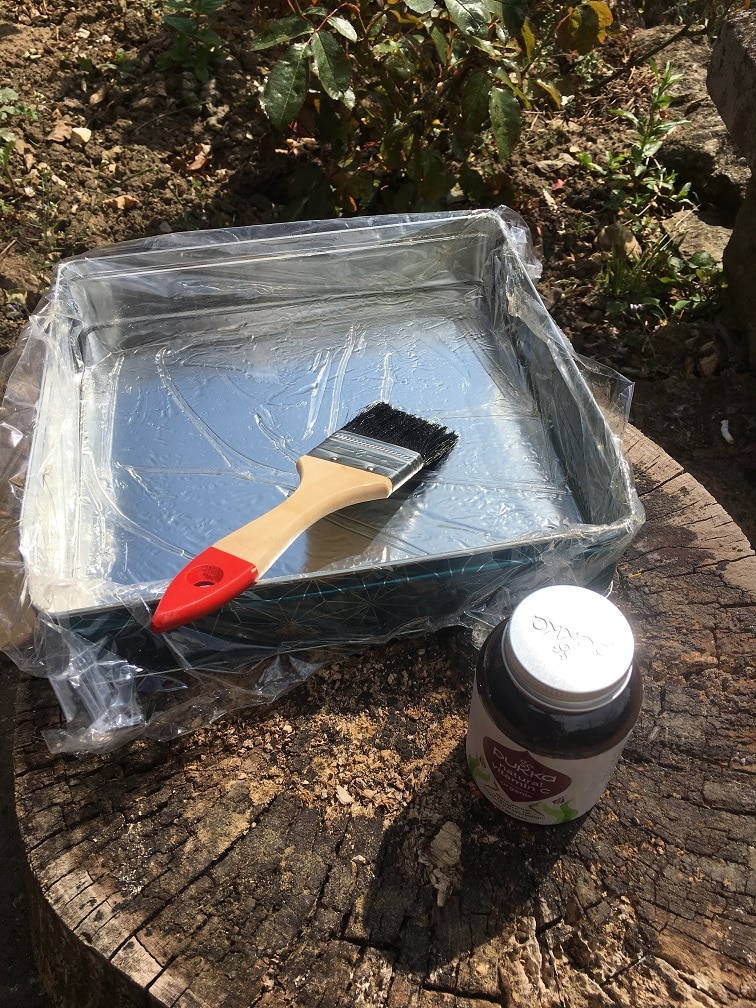
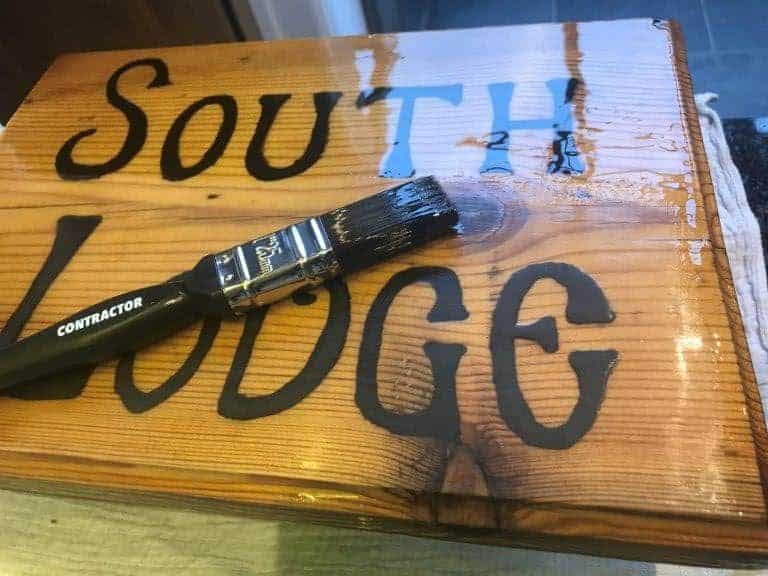
I apply the first of what turned out to be 5 coats of Epifanes High UV gloss varnish by brush.
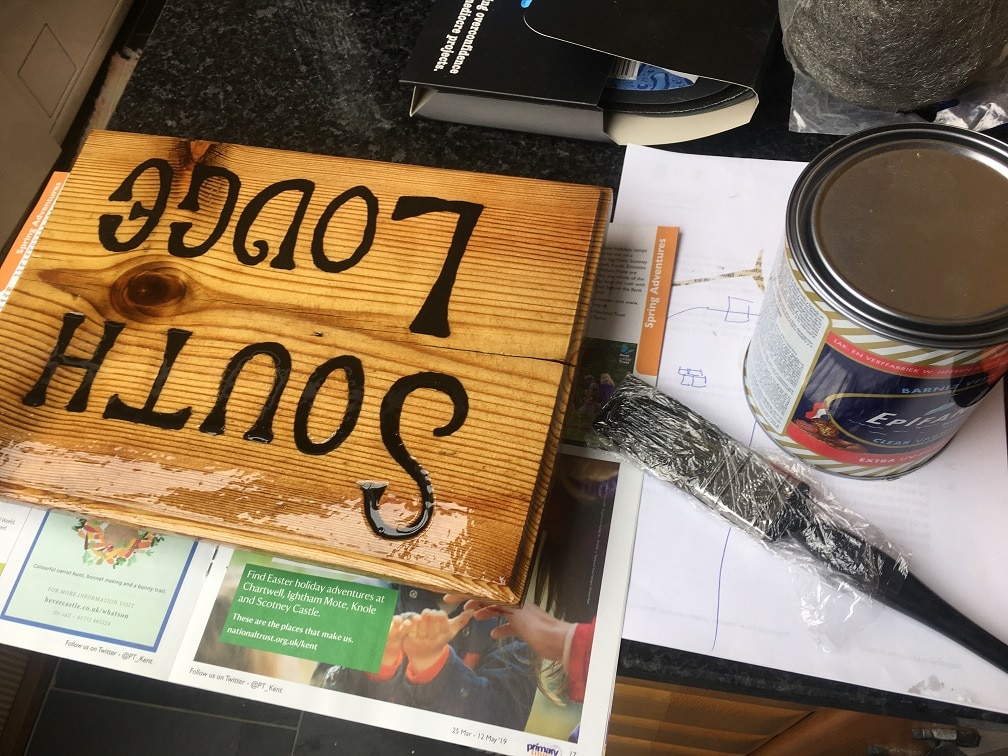
Wrapping the brush in cling film was a mistake, as the Epifanes was hardening and the brush required significant cleaning. We cleaned the brush in white spirits after every application of varnish following this discovery.
I sand the Epifanes after every coat has dried (24 hours) to ensure that the coats adhere perfectly together. Use 400 grit sandpaper or finer. An alternative to sandpaper is fine wire wook. I now only use Epifanes wood finish varnish as it does not require sanding between coats. This saves so much time it’s a must know for my how to varnish properly answers.
I apply another coat of black microporous paint to the back of the sign and then deem it fit for purpose.
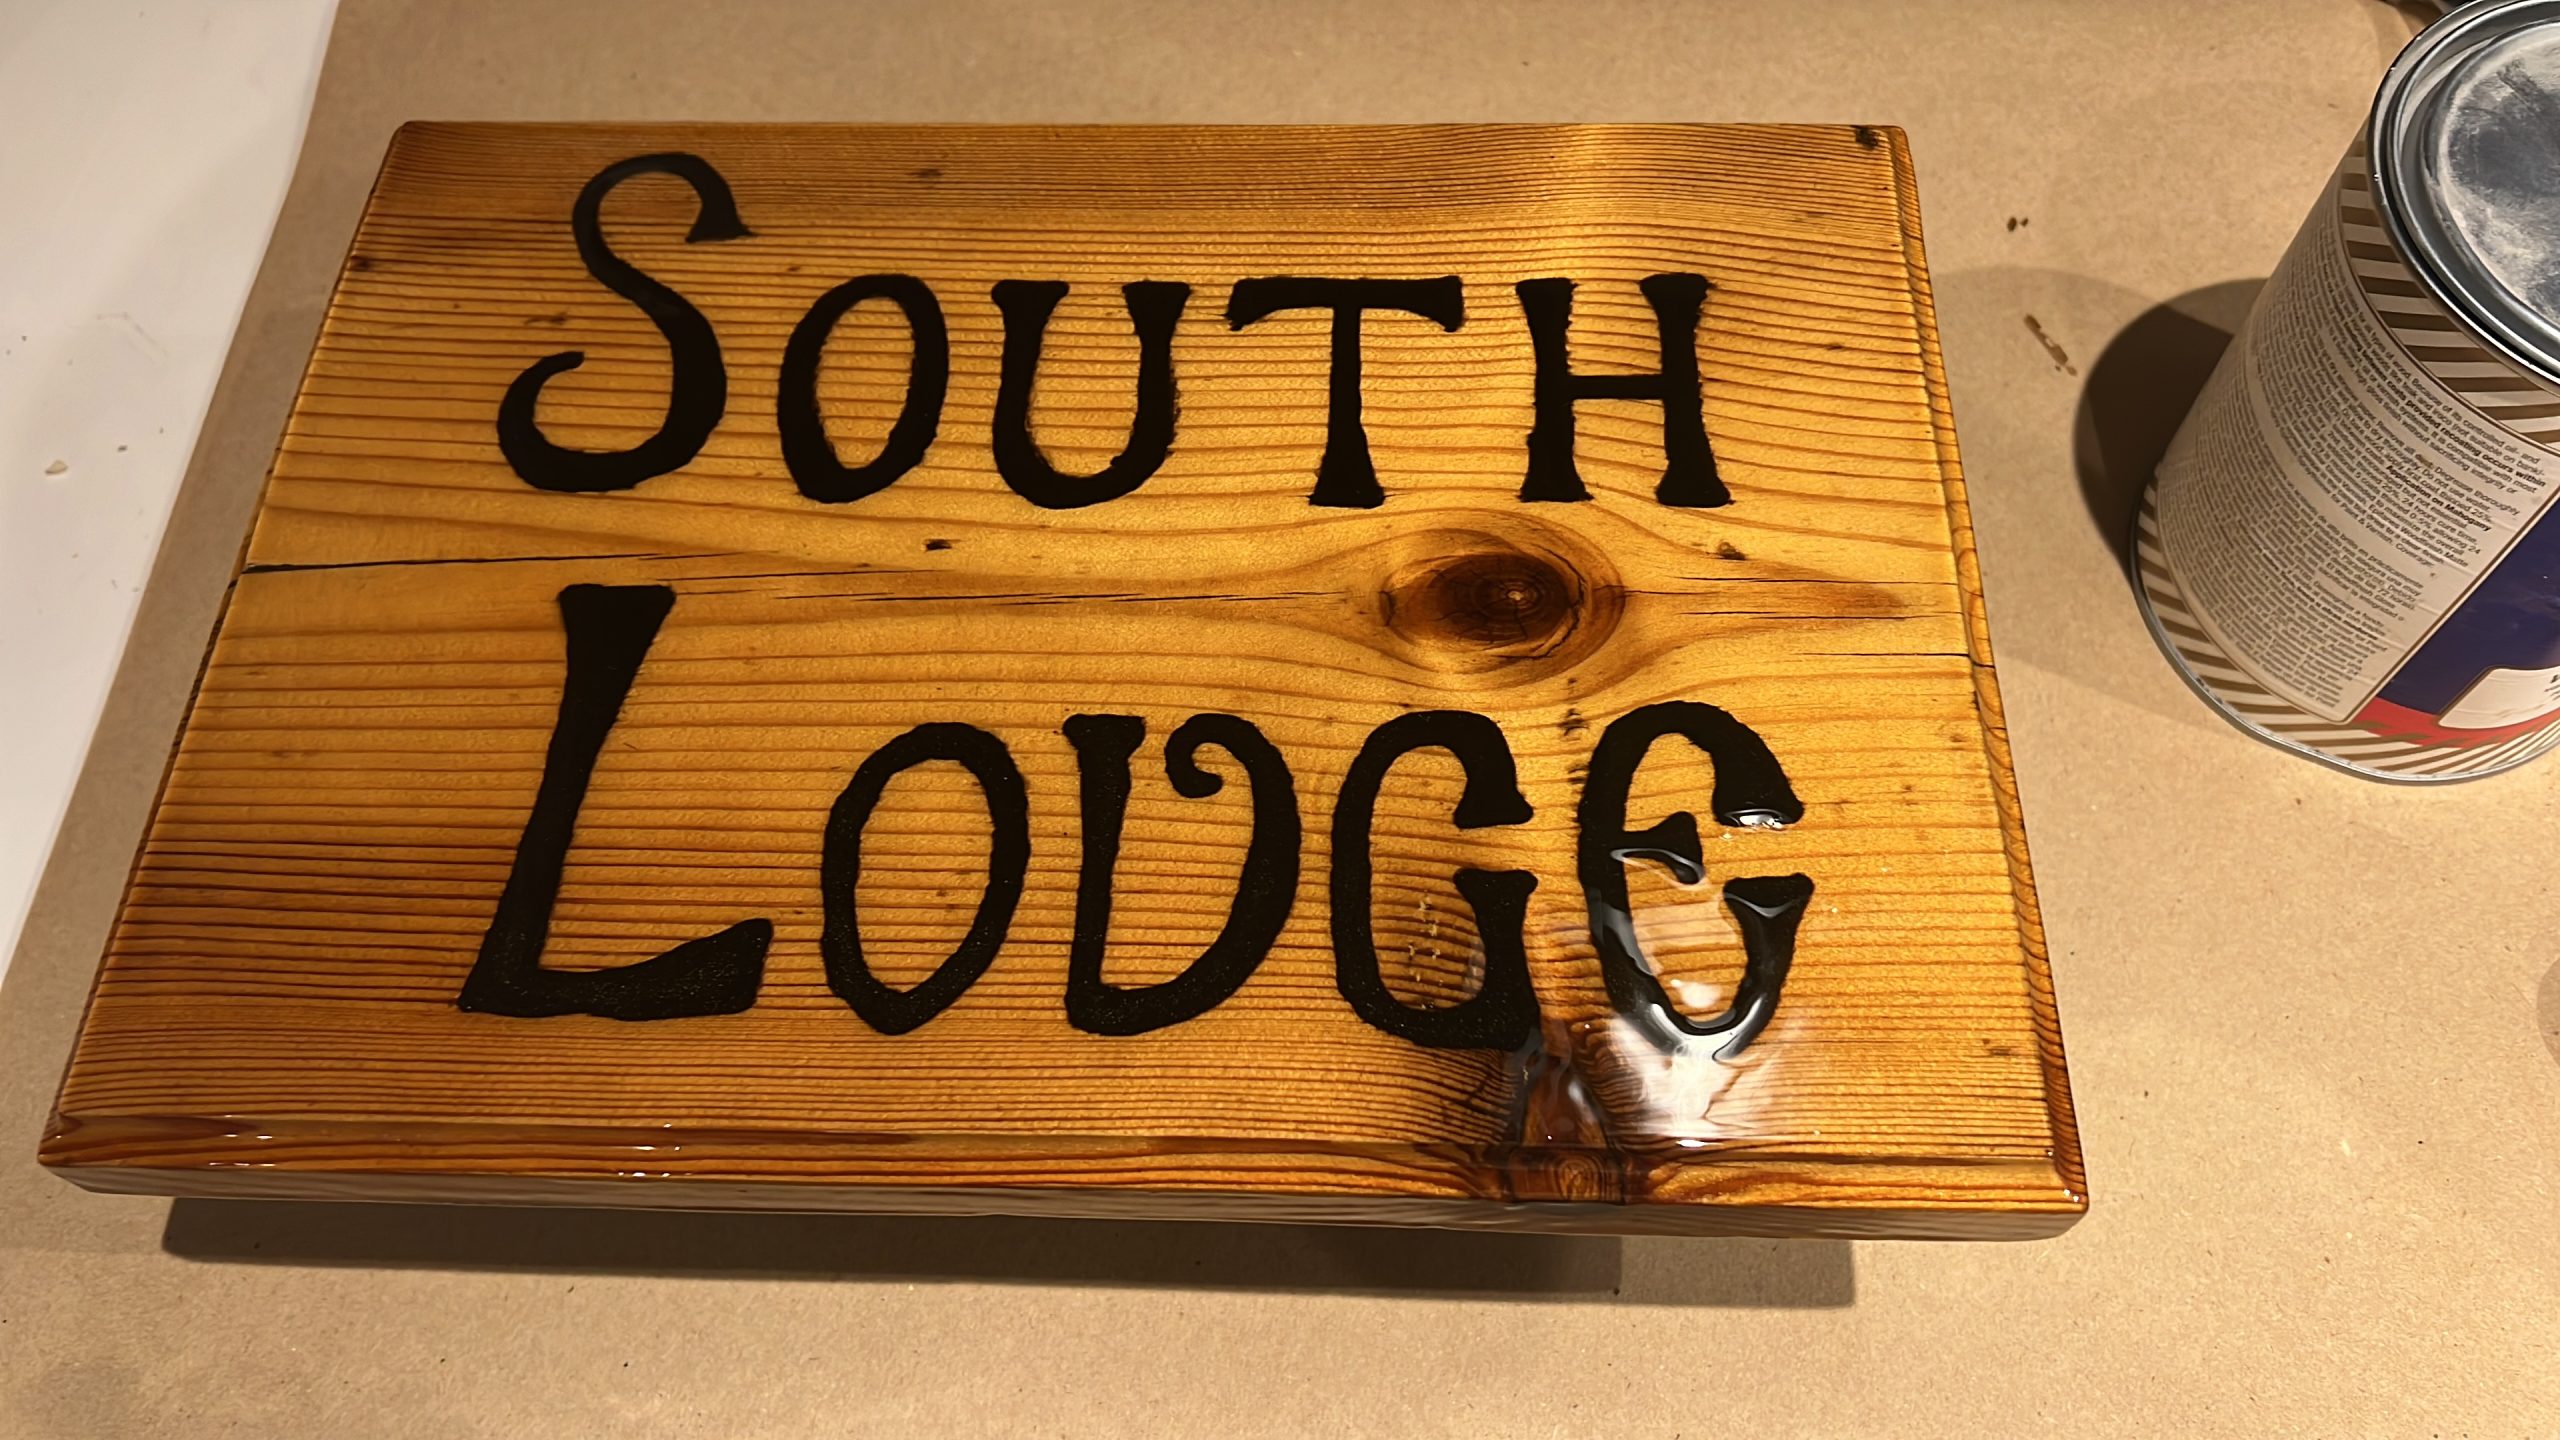
We then mounted the finished sign on our gates. The finish is quite magnificent – a shiny flat surface with wonderful grain.
This is June 2019. I decided that I did not like the blackboard on top of the sign and removed it.
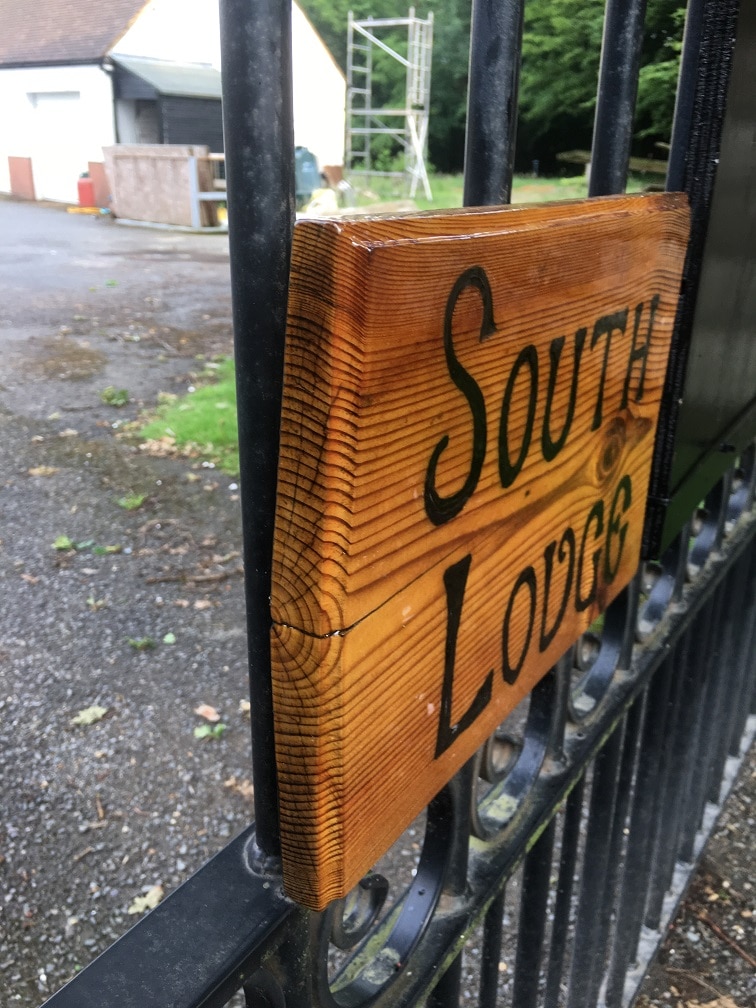
The end grain of the sign looks pretty fabulous and weatherproof as well.
Step 3 – Maintenance. Our Record of maintenance and durability
We will log future maintenance of the sign here along with a photographic record of the ageing of the finish. A photographic library will develop showing what will happen if you follow ‘how to varnish properly’ instructions.
December 2020 – 18 months – early maintenance
In december 2020 I was doing some varnishing. I decided that while the brushes were out that I would give the sign a maintenance coat as well. The sign was attached to the gates for 18 months at this stage. We show the sign here after cleanign it, it looks about perfect.
The varnish was roughened with a light rub with wire wool, and now appears matt. This will ensure the next coats of varnish adhere properly to the old varnish. Here the first coat of Epifanes ‘Wood Finish’ is being applied.
The sign has now been reinstalled after 2 coats of Epifanes wood finish varnish. Would more people varnish things if they knew that the varnish could be made to last? Do people ever ask how to varnish properly or just buy cheap varnish and follow the instructions.
October 2022 – nearly 4 years old
It is now October 2022. I have ordered new gates for the house. The sign is removed and cleaned up.
The finish on the sign is still so good that I am not even going to put any maintenance coats of varnish on to the sign at this time. as you can see the varnish still has a good glossy finish.

April 2025 – a 6 years old varnished finish
Most people have sanded back to bare wood years ago, but not this finish.
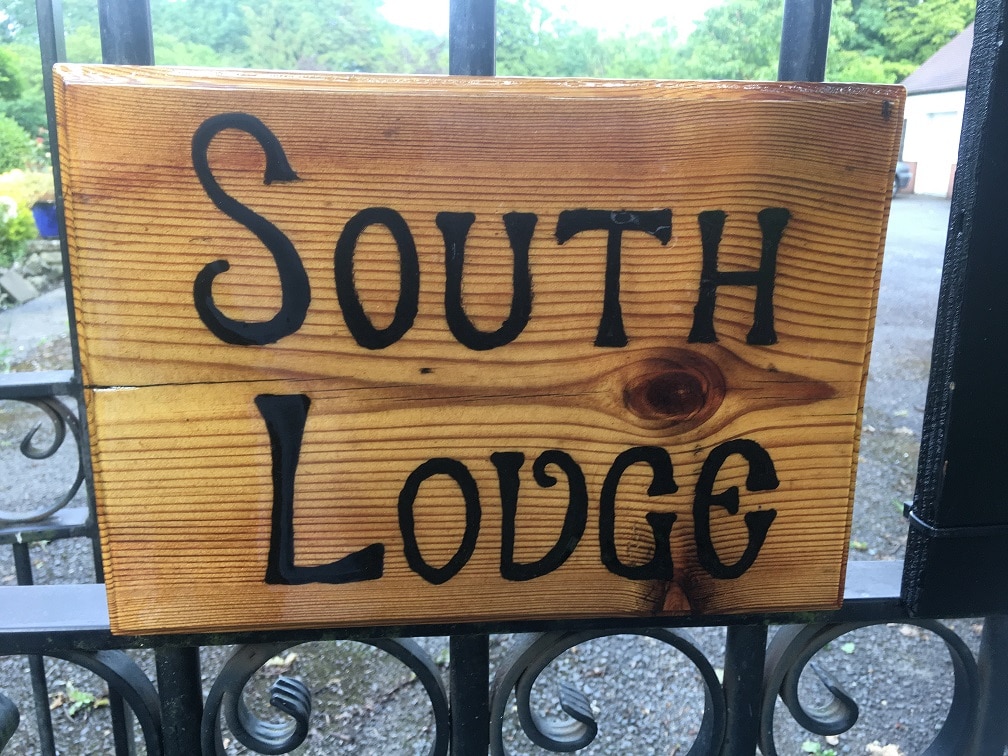
This is the sign on the gates after 6 years in the UK climate in Kent.

Cleaned up it looks like this. The finish is still glossy so maintenance could have been deferred.

However – the sign is off – and the varnish is out – so it’s maintenance time once more. Remember – this is MUCH easier than sanding back to bare wood and starting again. Here the sign has been sanded with some fine wire wool to clean the surface and ensure adhesion.

Initially 5 coats of varnish provided 1/2 litre per sq metre coverage. We shall add 3 coats to maintain the varnished finish. This time we used Epifanes Wood Finish Varnish as it does not require sanding between coats. The first coat has been applied here.
After we had applied 3 coats of Epifanes wood finish varnish we refitted the sign to the gates.

Conclusion
If you have read this far – you now know how to varnish properly. Now, Smiths CPES isn’t cheap, and neither is good varnish. However your time is also not cheap, and if you do this once properly you will be very grateful in the years to come.
So visit our permanent exterior varnishing kit page and get a discount on all of your ingredients for a varnish finish that will be the envy of your neighbours. Do it once, do it right with Make Wood Good.