So why do I care about curing nail rot? A Boat was constructed with strip timber, mahogany in this case, and has been nailed together using galvanised nails. This is known as ‘Strip Building’ or ‘Strip Planking’.
What is Nail Rot?
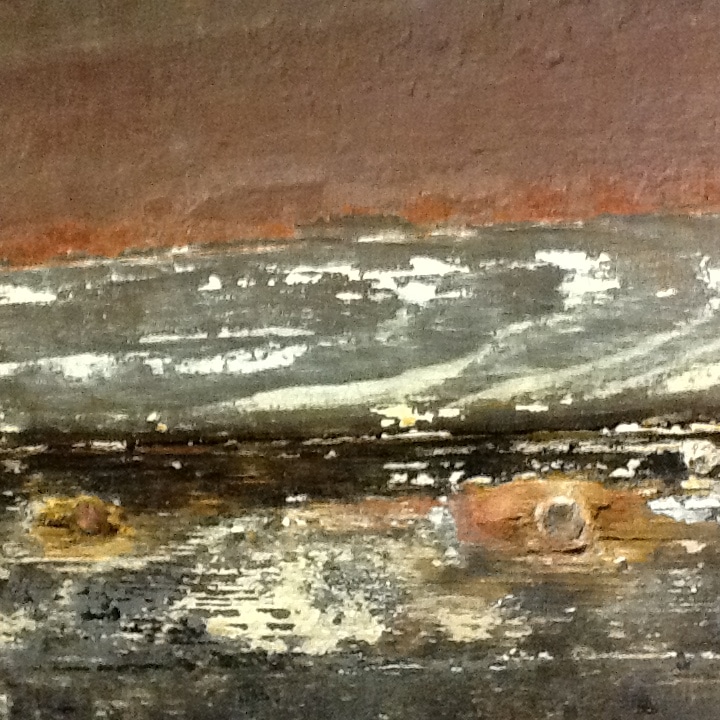
After many years the galvanisation on the nails is failing, and the nails have started rusting. Presumably this is due to the twin evils of moisture and electrochemical reaction.
What’s the problem with Nail Rot?
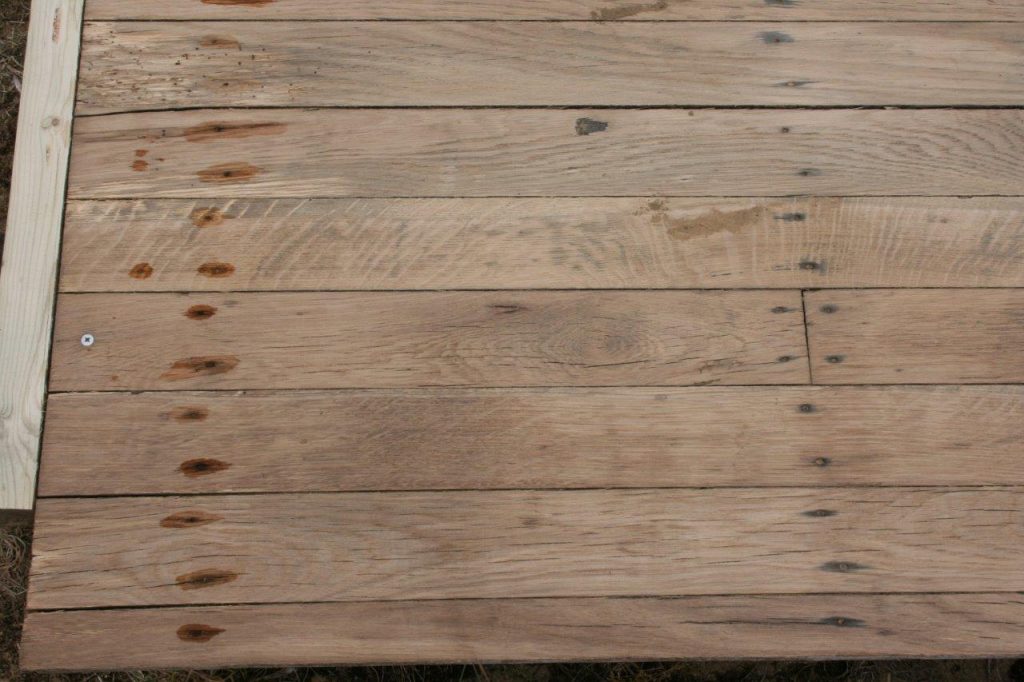
The rust spots are spreading from the nails, and are visible through the paint on the hull. Furthermore they cause softening of the timber around them. Stripping the wood of paint makes this evident. These soft spots have not progressed to be so bad as to require replacement of structural timbers, yet. These soft spots decay fast, so the nail rot must be cured.
What is the Cure for Nail Rot?
Simply follow these three simple steps to cure your nail rot.
Preperation
- Strip the timber back to bare. Even if the nail rot is only evident in a small area, it is only a matter of time before it becomes evident everywhere
- Dry the timber thoroughly
- Repair any structurally damaged areas of the timber. By structural damage I mean anything that may cause the boat to leak or break. Entire rotten planks, or parts of a plank that are rotten half way through would be a prime candidate for replacement. If in doubt please just ask us
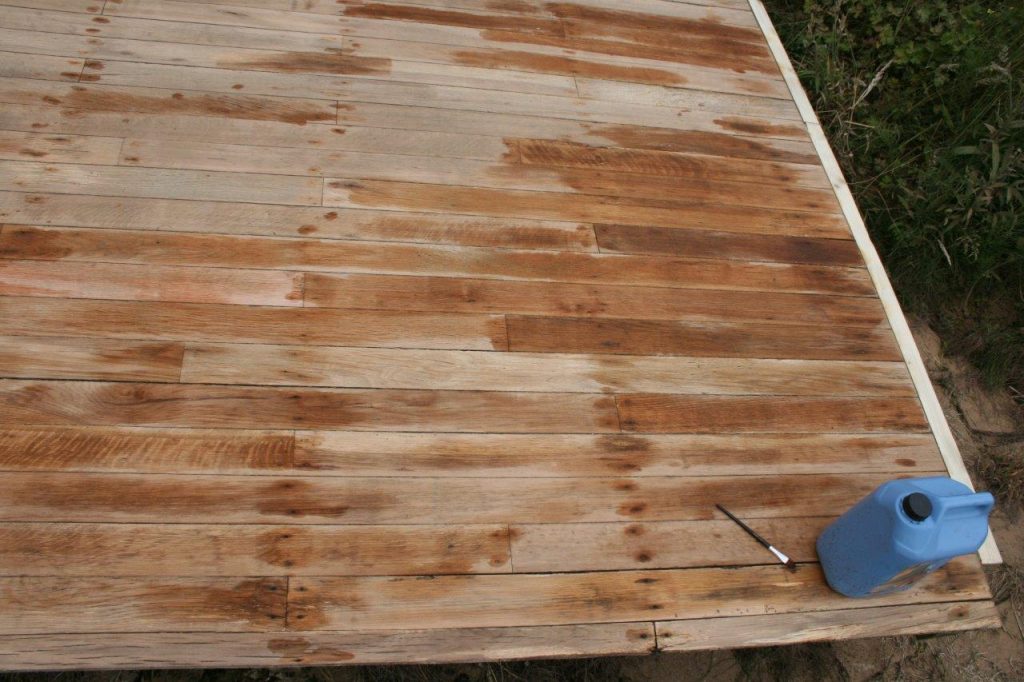
Phosphating
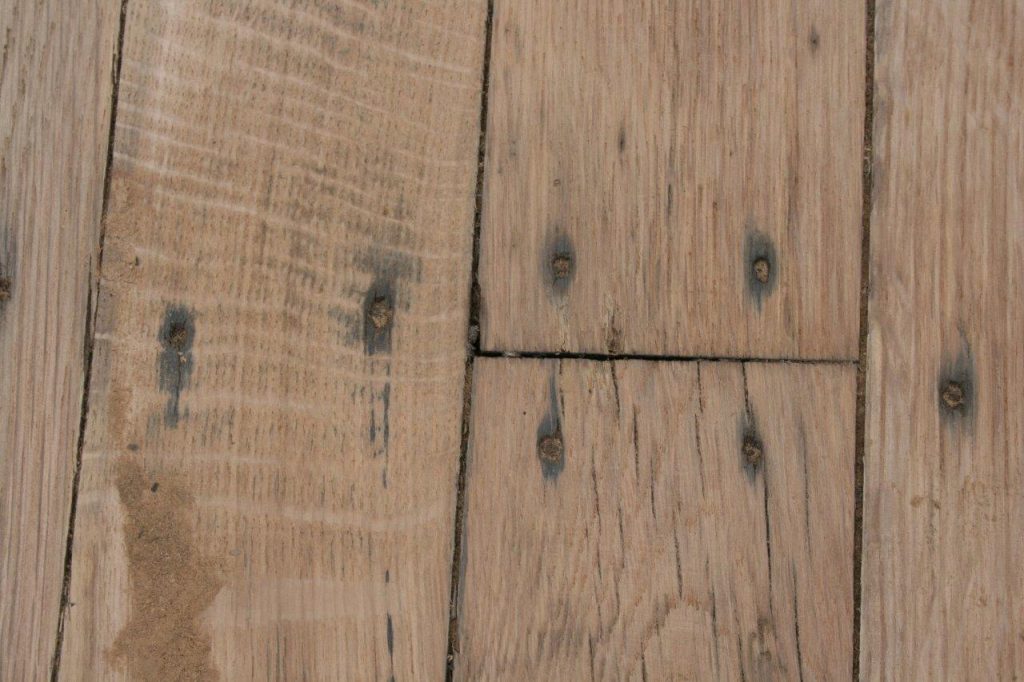
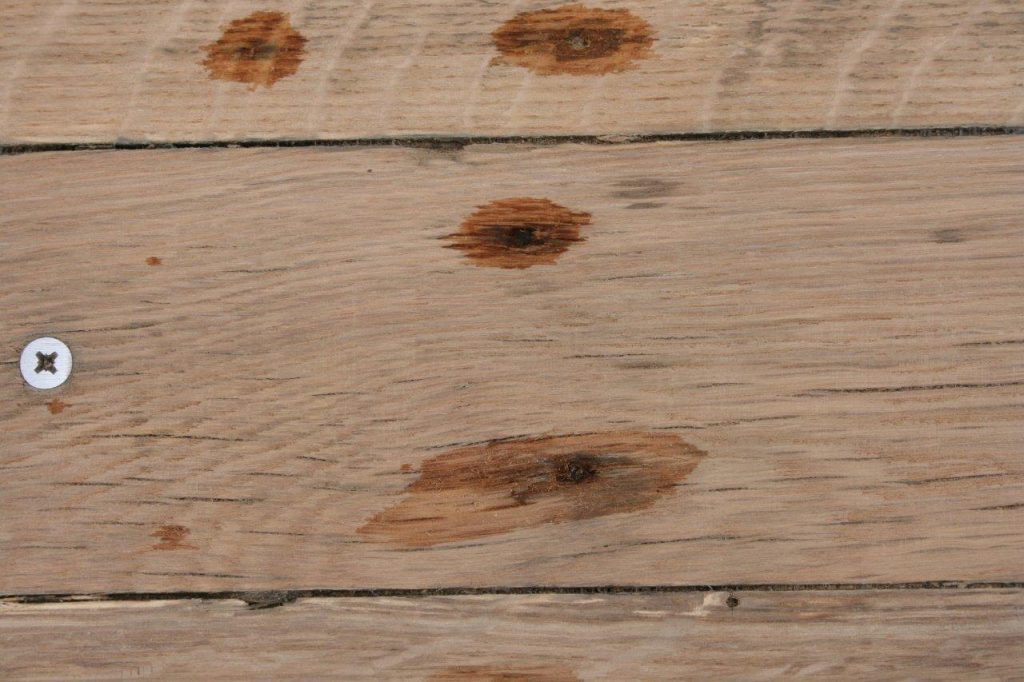
- Treat the nails and the stained timber with Jenolite or another proprietary phosphating solution. You can also use Phosphoric Acid, around 30% concentration works fine on timber. Commonly sold for the ‘curing’ of rust on steel for car bodies, these preperations are ideal for our purpose. The rusty fasteners will become phosphated. They turn the red or black iron oxide in the timber into grey iron phosphate. This is conveniently far less noticeable against the wood than the rust
- Dry the timber thoroughly once more
Restoration
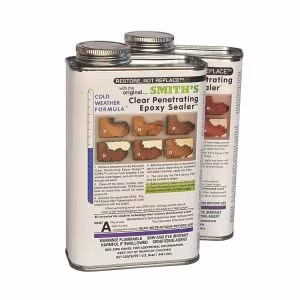
- Saturate the timber with Clear Penetrating Epoxy Sealer (CPES). It will consume lots around areas of soft timber by the rusting fasteners. Apply as much as the wood will take. Then repeat the coats until the wood will take no more. Once the wood has a shiny surface finish when dried, this task is complete
- Fill any surface imperfections caused by rotten wood around the fasteners with Fill-It epoxy filler – The flexible epoxy wood filler.
- Allow the filler to cure fully, then sand to restore the profiles
- Apply one final coat of CPES once the filler is cured and sanded. This ensures the paint or varnish bonds firmly to the filler after sanding to profile
- Paint or Varnish the timber once the CPES has dried, but before it has fully cured. Bonding the top coat strongly to the primer ensures it’s extreme durability. See here for full instructions
How does this repair and further prevent nail rot?
- Coating the fasteners in iron Phosphate resists further corrosion
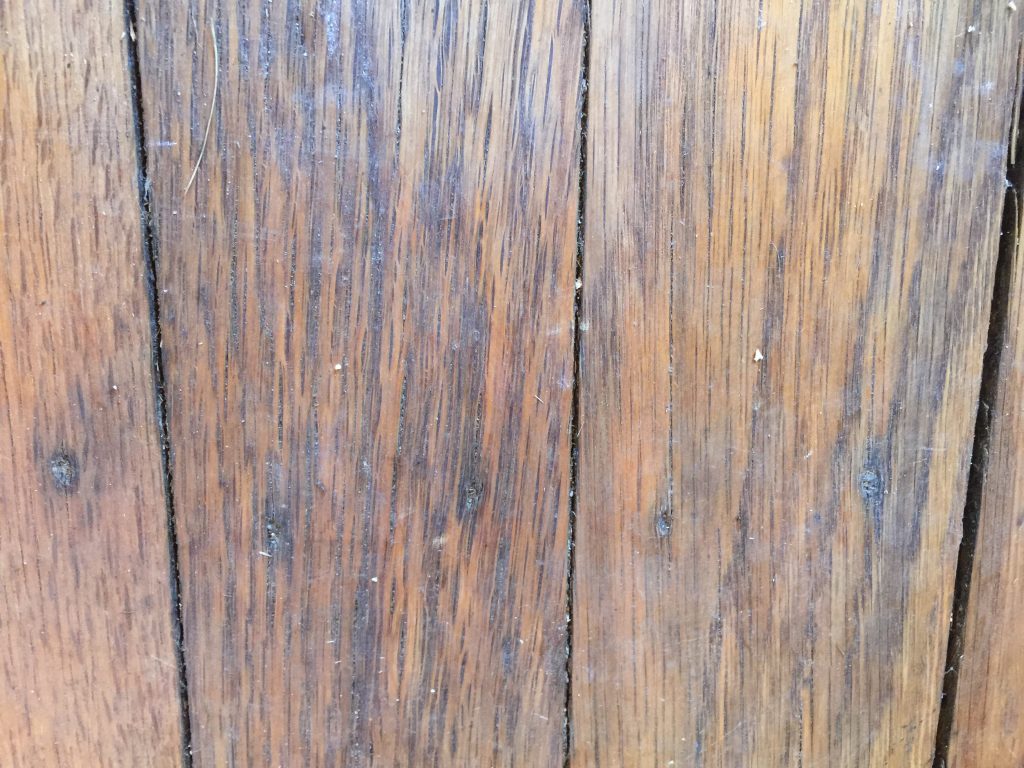
- Converting Iron Oxide in the timber into Iron Phosphate turns it from black to grey. We can now varnish the finished product as the grey phosphate is less visually intrusive
- Clear Penetrating Epoxy Sealer acts to resist corrosion around the fasteners
- CPES increases the electrical resistance of the timber around the fasteners to resist further electrolytic attack
- The CPES hardens the softened areas of timber caused by the nail rot
- We have now cured the Nail Rot
- The CPES will further bond the top coat strongly to the timber, reducing future maintenance requirements
The final finish may even be good enough to varnish if you desire, with far less unsightly marks around the rotten nails. The refinished surface should be good for many years to come.
What does this process look like?
A photographic demonstration of curing nail rot on an old oak deck in my garden is shown here.
-
Price range: £63.75 through £353.00 Select options This product has multiple variants. The options may be chosen on the product page