Ashley re-caulked his Danish fishing trawler, Tino, so that it can be his houseboat. This article describes the processes required to make his seams watertight once more, and how you can obtain a dry bilge by properly caulking wooden boat. He has also kindly provided the photos which accompany this article. You can read more about it in his blog: Renovating Tino a danish fishing trawler houseboat.
Why do old Wooden Boats Leak?
Old wooden boats leak for a number of reasons:
- Using and storing a boat causes the planking to swell then shrink. This stresses fasteners and seams, and loosens the fasteners in the timber.
- The fasteners then allow the ingress of water as the fit is poorer. This water then migrates through the timber, promoting rot, which makes the timber more porous still.
- The movement of the wood as the boat dries and swells damages the caulk which may have lost flexibility. This allows water to the bilges, which removes the ability of the planks to breath to the bilge. The ability to evaporate water to the bilge allows the timber to remain dry enough to avoid rot, and removing this ability can allow the planks to rot.
- In certain circumstances electrolytic corrosion of fasteners can further damage the wood. This causes soft spots that encourage rot and allow yet more water into the timbers.
Replacing all of the planking is the traditional cure for this. This is not without problems, the two most obvious ones being:
- The cost of the exercise
- You will be replacing old growth timber with modern plantation grown timber which is likely to last far less time
Repairing and re caulking your wooden boat is the alternative to replacing everything. We detail the procedure for re caulking your wooden boat below:
Caulking Wooden boat. How to Repair a leaky Wooden Hull
Check the condition of the fasteners in the Hull.
If they are starting to decay, then now is the time to replace them. Treat decayed fasteners that you can’t remove to resist further decay. Phosphoric acid and CPES can prevent further damage from nail rot. Once you have cured your nail rot following those instructions the staining of the wood will be much less evident. Rotten timber will be consolidate to hard wood, and prevented from further decay. This sealed and primed timber will allow fillers or caulks to bind firmly to it as well.
Remove all of the paint from the wood
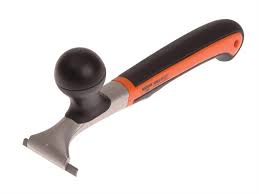
We recommend the use of water based paint strippers or heat to remove old paint. Augment this with a modern Tungsten Carbide tipped pull operation paint strippers. Bahco and Sandvic amongst others sell these wonderful tools.
Reef the old Caulk Out
A variety of reefing tools are commercially available.
Ashley found some wonderful period tools which he highly recommended:
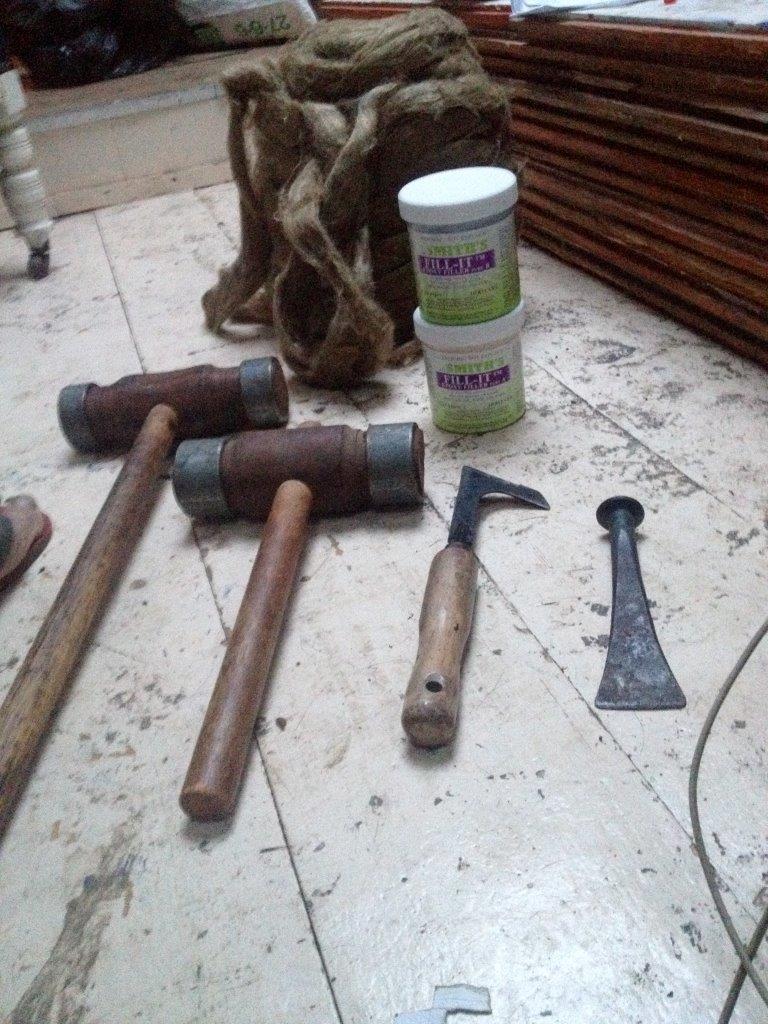
It is important to remove the final remains of the old caulk from the edges of the seams. You have many tools to choose from.
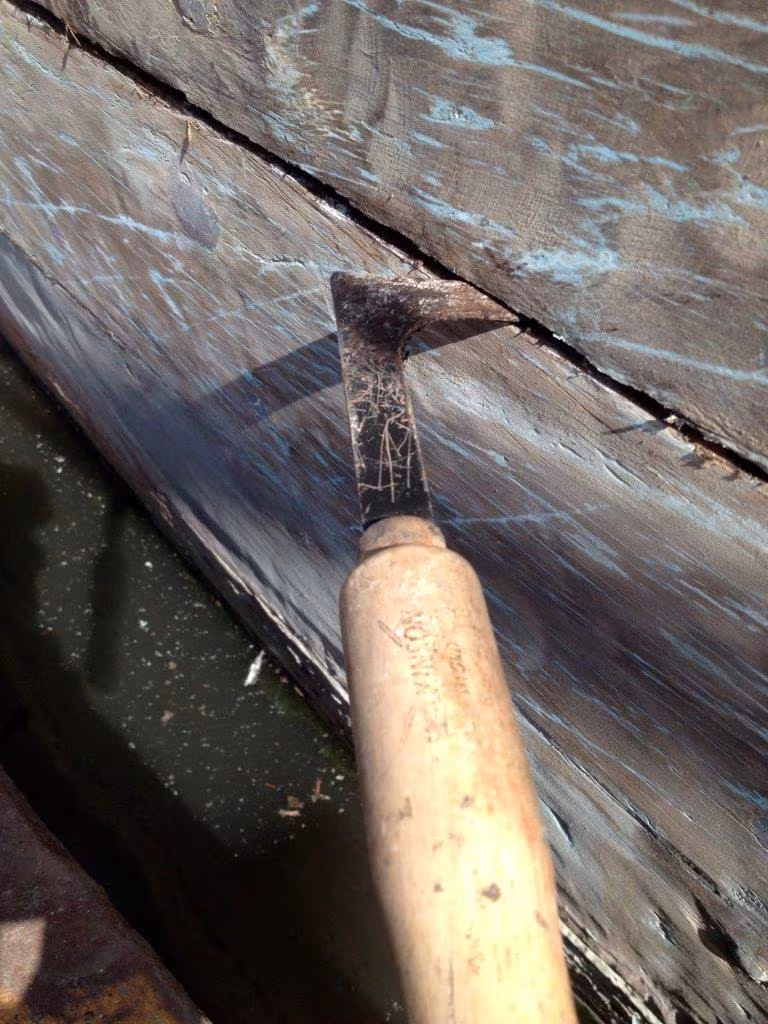
It may be possible to get the tungsten carbide blade of a decorators pull scraper into the seam. This can be a highly effective and long lasting tool. Offset the blade in the clamp or use a wider blade than the correct one. The blade sticks out allowing you to insert it into the seam.
If it is only possible to sand inside the seam, then the timber will have to be cleaned that way.
Seal the Seams Before Caulking your Wooden Boat
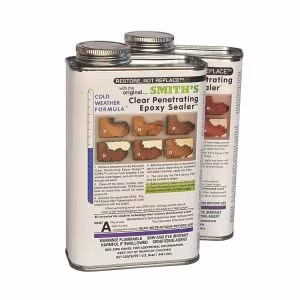
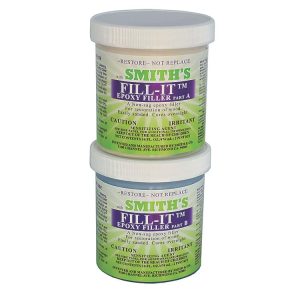
Use Smiths CPES™ to seal the timber in the seams prior to caulking your wood boat. Apply several coats of the product until the wood stops absorbing it. This will consolidate the top surface of the timber in the seams and provide a firm base for the Caulk to adhere to. Allow this to dry for 24 hours after the final coat before applying the caulk, the seams should no longer smell of solvent. If there is any significant damage to the planks where the caulk is to be applied, then they can be repaired with Fill-It filler here, don’t forget to apply CPES over the filler after final sanding of the filler though.

This preparation of the timbers to provide a firm surface for the caulk to adhere to is the most important step in achieving a dry bilge. Caulk will stick to CPES treated timber far better than it possibly can to wood alone.
Masking The Seams prior To Caulking
If the Seams are masked prior to caulking a far tidier job can be obtained.
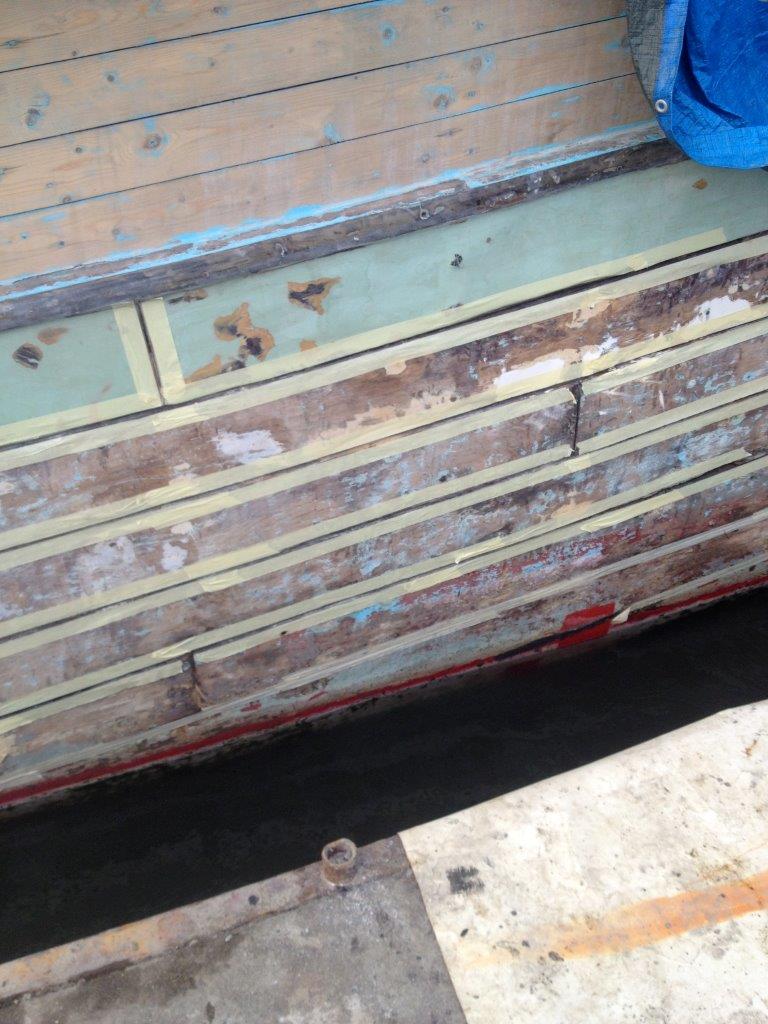
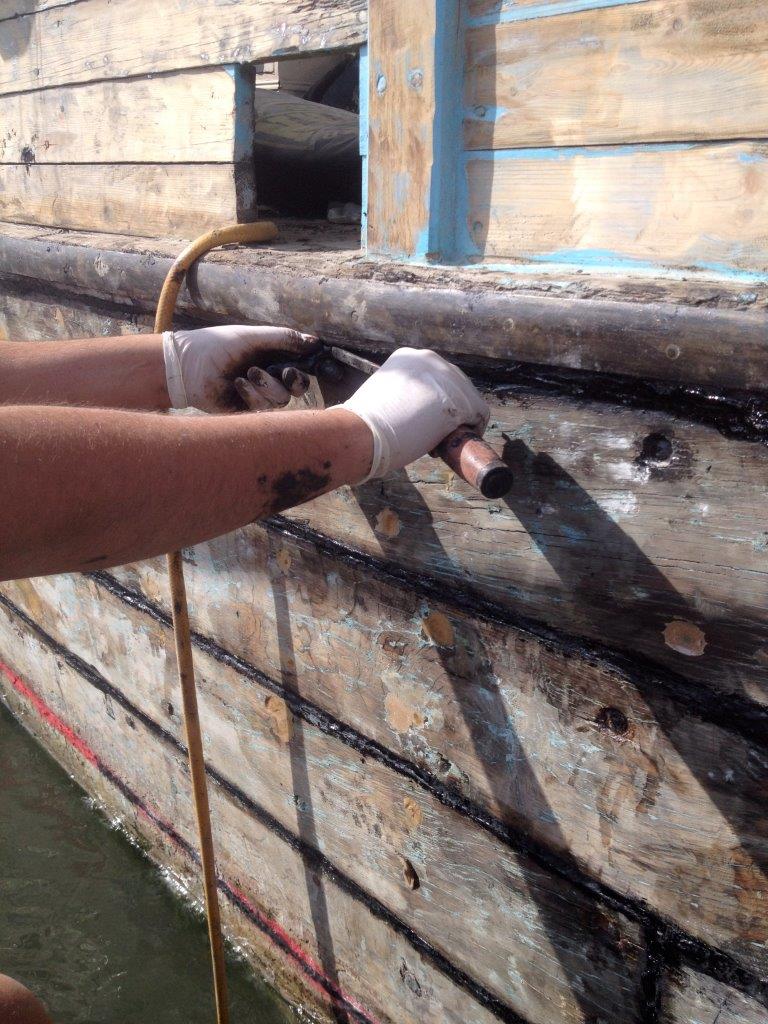
Caulk Cour Wooden Boat
Here Ashley is appplying Oakum into the seams. If you are using modern caulks – use Backer Rod instead.

We recommend using 3M-5200 or another modern polyurethane caulk. This will provide a permanent caulk that will adhere very strongly indeed to the CPES treated timber.
Ashley, the owner of Tino, used ‘Black Pudding’ with oakum behind it. This was largely for commercial reasons as his boat Tino would have required so much 5200 that the cost would have been prohibitive.
Other restorers have different preferences, the main requirement is to give the caulk a firm timber substrate to adhere to, achieved by sealing the timber surface with CPES in the previous step.
Do not forget to remove the masking tape before the caulk sets.
Finish the Outside of the Hull
At this point the caulk is fully cured, and the outside of the timbers can be finished. Any defects should be filled with Fill-It filler after a coat of CPES to ensure adhesion of the filler. The entire exterior surface of the hull is now sanded and sealed with CPES. Apply Smiths CPES™ until the wood will not soak up any more, damaged and deteriorated areas will absorb significant amounts, and will have significant strength restored to them as a result.
Again after waiting until the solvents have evaporated, it is time to apply the final finishes:
Below the waterline
Apply several coats of High Build Epoxy Paint, followed by anti fouling paint as preference and regulations allow.
Above the Waterline
If the finish is to be bright, and who doesn’t like to show off a wooden boat, apply Epifanes varnish as described in the varnishing notes here.
Ashley and ‘Tino the Houseboat’
You can read more about Ashley and Tino here, in his blog, and the interesting variations on the methods described here that he used on the massive hull he was faced with restoring. His traditional ‘Black Pudding’ caulk is described here.
Purchase the Materials To Caulk Your Hull here
-
Price range: £63.75 through £353.00 Select options This product has multiple variants. The options may be chosen on the product page
-
 Price range: £24.00 through £62.40 Select options This product has multiple variants. The options may be chosen on the product page
 -
Price range: £45.00 through £350.00 Select options This product has multiple variants. The options may be chosen on the product page